Drupal can be installed on any number of environments, but since it was developed primarily to run on an Apache server with PHP and MySQL database, it makes sense to mimic this environment as much as possible in a development sandbox. There are LAMP applications for both Windows (WAMP / XAMP) and Mac OS (MAMP) which can serve as a Linux replacement, however recent innovations with Virtual Machines and Vagrant means that we can re-create a more native environment for development quickly and easily. Below I will describe how you can setup Drupal using some of these tools in less than 10 minutes. The Vagrant setup used here is Scotch Box. The objective is to setup a Drupal development environment with full LAMP stack capabilities including command line access and Drush integration using the native Linux file system for speed and compatibility.
Requirements
In order to setup your development environment, you will need the following installed on your system:
- Git
- VirtualBox
- Vagrant
- An SSH Client (My preference is PuTTY). If you are a Mac user, SSH is built into the OS
Setting up your Vagrant VM
- Download and install the applications above.
- Browse to a location on your system where you would like to install your new Drupal development environment (e.g, c:\code\drupal)
- Open your command terminal and enter the following command:
git clone https://github.com/scotch-io/scotch-box.git drupal
That’s it, you have now cloned the Scotch Box Vagrant image which includes a complete Linux environment preconfigured with MySQL and PHP. To start your new environment, issue the following commands:
cd drupal
vagrant up
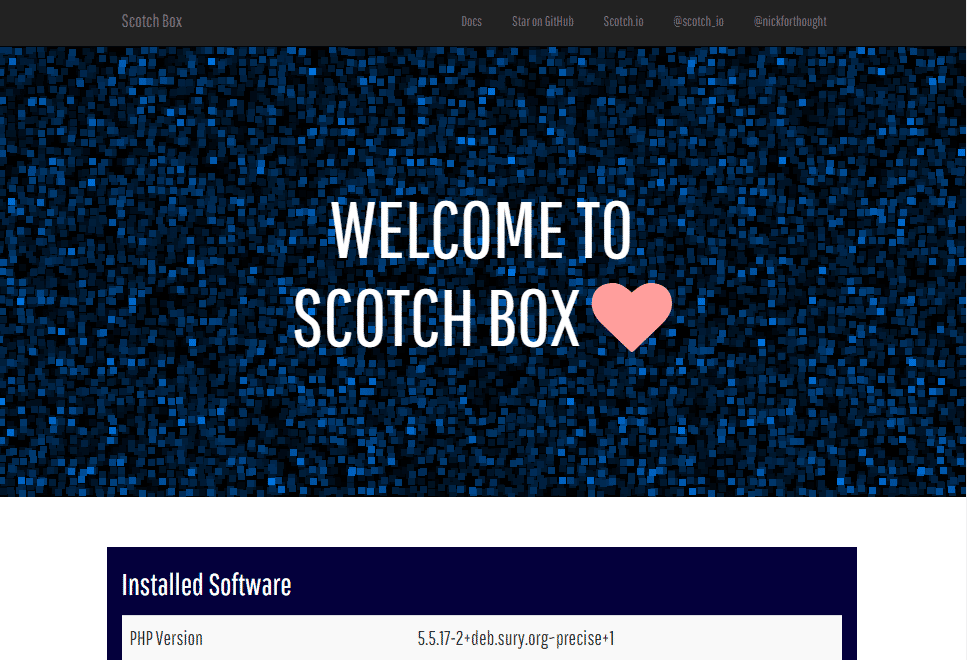
At this point you should have a fully running VM image setup with a basic LAMP stack. To verify your installation, you should be able to see the Scotch Box Vagrant welcome screen when you browse to http://192.168.33.10/.
You can also easily shut down or suspend your VM at any time by issuing the vagrant halt or vagrant suspend commands. For more information on options with managing your Vagrant image, check out the official Vagrant documentation.
Database and File System
Now that you have setup your VM, you’ll want to access your it via SSH in using the IP address 192.168.33.10. Your username and password are both ‘vagrant‘.
Once in, you will want to create a new database for you Drupal site. This can be done by via the MySQL console. You can access MySQL by issuing the following command (note that both your username and password defaults are ‘root’):
mysql -uroot -proot
Once in, run the following commands to create your Drupal database and then exit the MySQL console:
create database drupal7;
exit;
Now that we have a database ready to use with our web application, we are ready to look at the file system of our new environment. By default Scotch Box sets up everything in /var/www/public. This is the directory we will be using to install our Drupal site. You can also configure multiple sites using the Apache sites-available and sites-enabled features, however this goes outside the scope of our current needs here, so for our purposes we will use the default public setup. A very nice feature of Scotch Box is its use of synchronized folders. If you look in your host OS where you installed Scotch Box (the location you ran vagrant up initially) you will see a ‘public’ folder. This is essentially a host copy of the native Linux /var/www/public directory. What this means is that you can continue to use your host OS IDE / text editor and modify files directly. Scotch Box will then synchronize these with the native Linux file system giving you both convenience and speed of the Linux file system.
Quick Install of Drupal
So now that we have our basic environment up and running along with an empty database, the next step is to download and install Drupal. Thankfully we can do this in a couple of quick commands. First of all you should go to the root www directory by issuing the command:
cd /var/www
Next, issue the following to install Drush (The Drupal Shell environment for managing everything from downloads to site administration tasks):
composer global require drush/drush
After installing drush, we only need to issue a few more commands to download and install our Drupal instance.
Next we are going to issue a drush command to grab the latest stable copy of Drupal. (Note the drupal-project-rename flag tells Drush to install drupal in our existing public directory):
drush dl drupal --drupal-project-rename=public
This will overwrite your current public directory and place all of the Drupal source files there. Next, we need to go into the public directory which now contains the Drupal sourcecode.
cd public
At this point, you can install Drupal with one additional command (Before running verify your database is called drupal7 and your user credentials have not changed from the above steps):
drush si standard --db-url=mysql://root:root@localhost/drupal7
Once you have completed these steps, you should now be able to access your newly installed Drupal 7 instance at http://192.168.33.10/. The Drush standard install (which is what we used to install Drupal) will setup a default ‘admin’ username with the default password of ‘admin’. You can now access the Drupal 7 administration section of the site by logging in with these credentials.
Note: If you browse to your Drupal site and you see an error message, try restarting apache by issuing the following command:
sudo service apache2 restart
That’s it – Drupal 7 LAMP setup in less than 10 minutes!